Living with a water leak you can’t see is a disaster waiting to happen. Even a pinhole in a pressurized line can waste hundreds of gallons every day, drive up your utility bills, and set the stage for structural damage and mold.
In this in-depth guide, you’ll learn exactly how to confirm a hidden leak, why modern leak-detection tools are game-changers, and what you can do today to protect your home.
Why Small, Hidden Leaks Turn Into Big Problems
Hidden leaks are dangerous because they rarely announce themselves. Water can travel along studs, pipes, and electrical chases before you spot a stain or warped floorboard. By the time you see visible damage, moisture may have been accumulating for weeks. Here are some of the most common problems caused by hidden leaks:
- Structural damage: Prolonged soaking weakens framing and causes wooden members to rot.
- Mold growth: Damp cavities create the perfect breeding ground for spores that trigger respiratory issues.
- High water bills: A leak that drips only once per second wastes more than 3,000 gallons in a single year—enough to fill a small above ground pool.
DIY Leak-Detection Tests You Can Run in Under an Hour
If you have a bit of know how, you can first try some of these DIY techniques:
The Meter Test
- Turn off every faucet, toilet, and water-using appliance.
- Look at the water meter’s flow indicator (often a red or silver triangle).
- If it moves at all, water is escaping somewhere in your system.
Photograph the meter each night for a week. Overnight movement suggests gradual loss that might be too small to notice in a single test.
The Midnight Silence Test
- Wait until the house is quiet.
- Stand near bathrooms, kitchens, or utility walls and listen closely.
- A faint hiss or trickle with every fixture shut off is a smoking gun.
Humidity Mapping
- Place an inexpensive digital hygrometer in multiple rooms.
- Compare readings after ten minutes.
- A 10% humidity jump in one area often signals trapped moisture behind walls or ceilings.
If any of these tests raise red flags, it’s time to bring in a professional leak-detection team.
How Professional Leak Detection Actually Works
Professionals have tools and equipment that you won’t be able to access on your own.
Acoustic Listening
Technicians use sensitive microphones to detect the ultrasonic “hiss” of water escaping pressurized lines. By moving the sensor along pipe routes, they can narrow the leak location to within inches.
Infrared Thermography
Thermal cameras show temperature differences. Cold water leaking into warm framing appears as a dark “vein,” while hot-water leaks show as bright streaks. This guides access with minimal demolition.
Moisture Mapping
Pin-type moisture meters measure the exact water content inside drywall, studs, and flooring. Mapping these readings identifies the wet footprint without removing any finishes.
Endoscopic Cameras
When needed, a small bore-scope camera is inserted through a ¼-inch pilot hole to confirm pipe condition, saving you from large drywall repairs.
Five Myths That Cost Homeowners Money
Myth 1: “If I can’t see water, it can’t be serious.”
Slow leaks soak framing for months before anything shows on the surface.
Myth 2: “I’ll shut off the water main until I can afford repairs.”
Depressurizing pipes allows sediment to dry and crack seals.
Myth 3: “Insurance will cover everything.”
Most policies exclude gradual damage caused by ignored leaks.
Myth 4: “Leak detection is expensive guesswork.”
Modern tools locate leaks accurately, reducing the need for exploratory demolition.
Myth 5: “Plumbers always need to tear out walls to find leaks.”
With acoustic and infrared technology, most leaks are pinpointed before a single cut is made.
Five Warning Signs You Need Leak Detection Services in Dallas-Fort Worth, TX
These warning signs are definite red flags:
Unexplained Spikes in Your Water Bill
A sudden cost jump without lifestyle changes is one of the earliest indicators.
Damp Spots, Stains, or Peeling Paint
Stains that reappear after repainting almost always mean moisture is still present.
Musty Odors or Mold Patches
Earthy smells often precede visible mold growth and can indicate leaks behind walls.
Warped Flooring or Baseboards
Water follows gravity, lifting hardwood planks and swelling trim along the way.
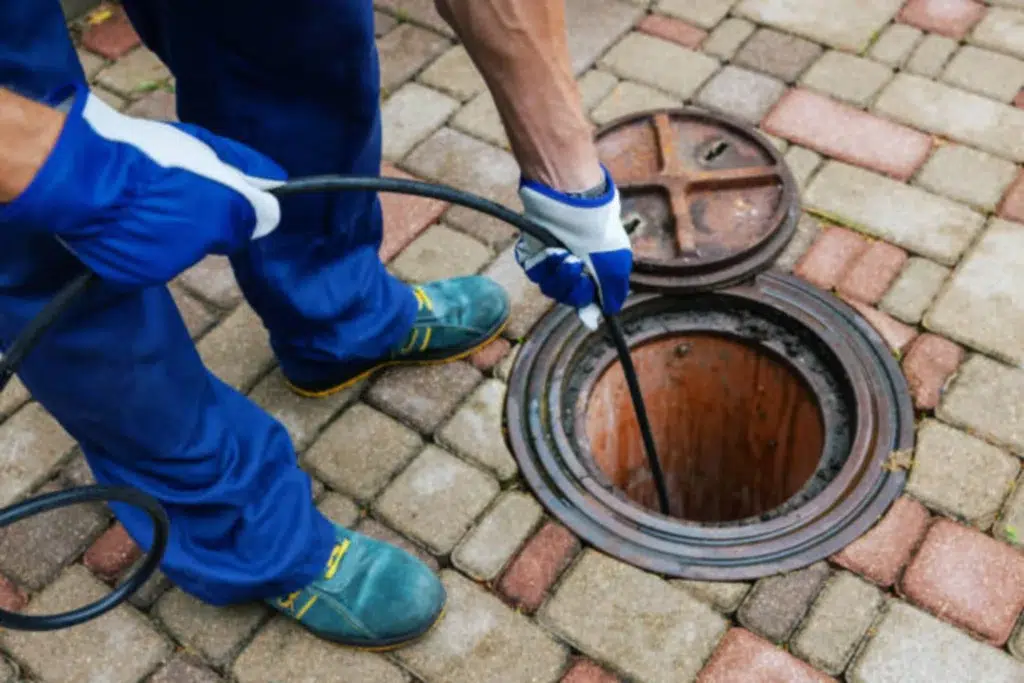
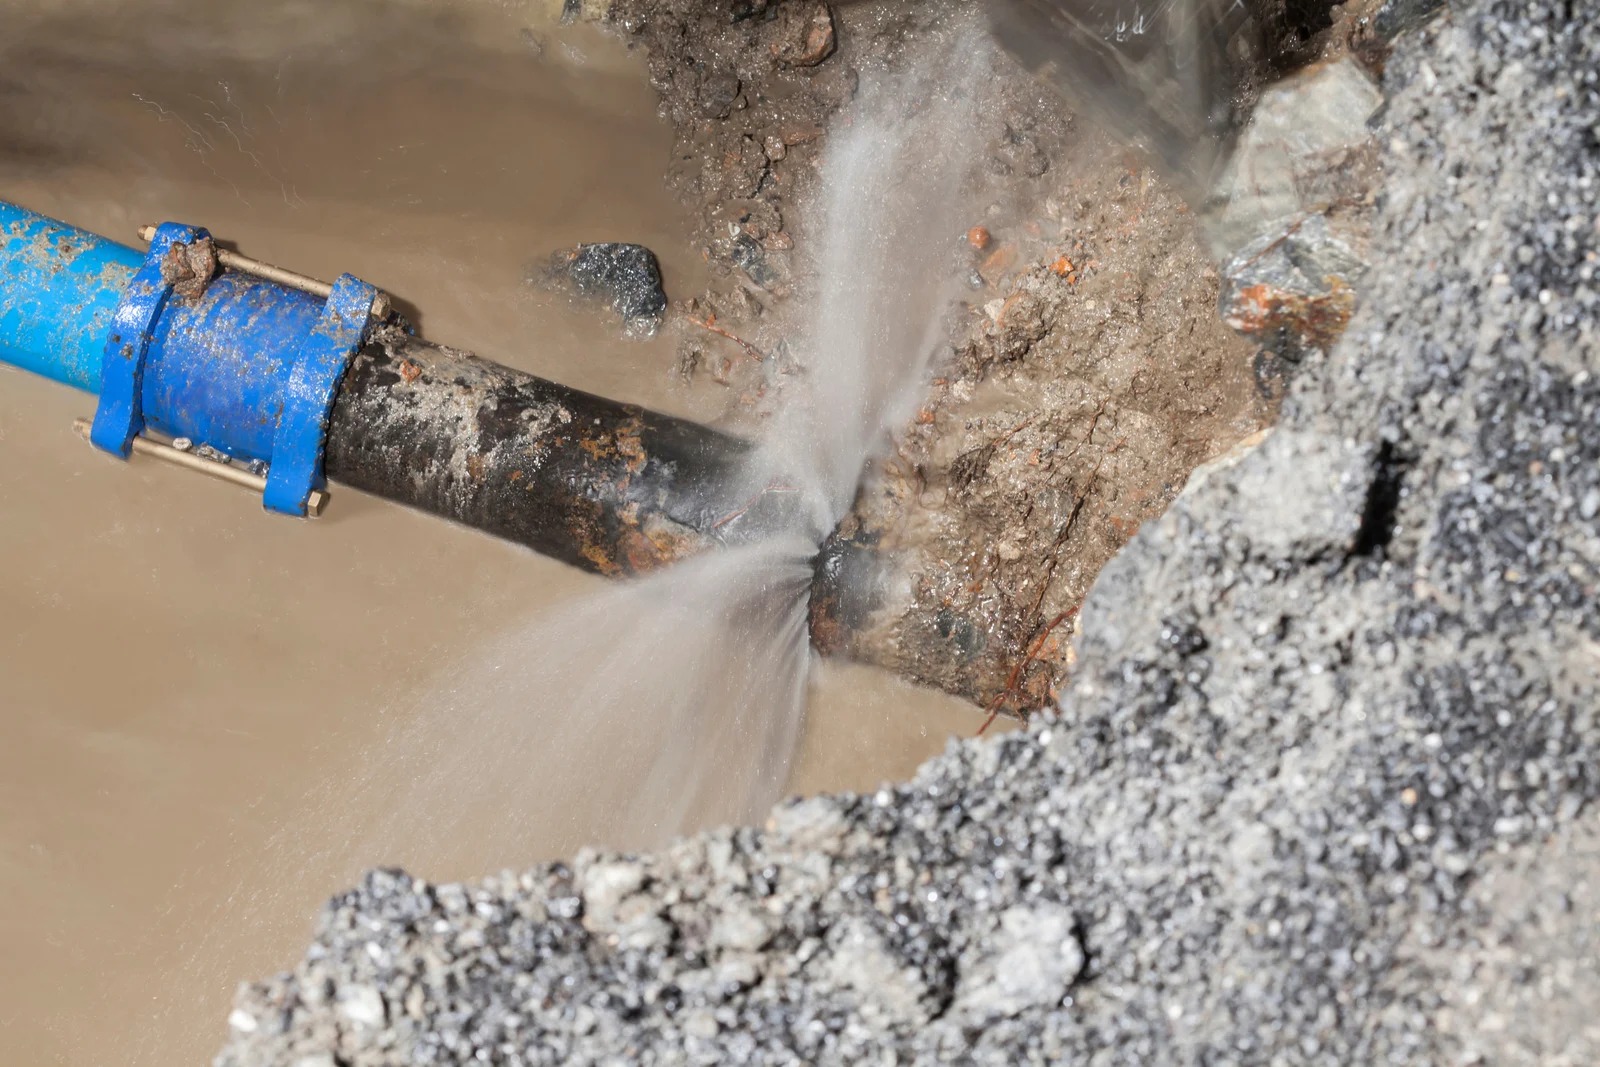
Wet Patches in the Yard or Foundation Cracks
Standing water or sudden foundation shifts may point to an underground supply-line leak.
What a Professional Leak-Detection Visit Looks Like
Wondering what will happen during a professional leak-detection visit. We break it down for you below:
- Consultation: Review symptoms, meter readings, and plumbing layout.
- System Isolation: Shut off fixtures and pressurize lines individually.
- Tool Triangulation: Combine acoustic, thermal, and moisture mapping.
- Minimal Access: Create a small opening to expose and confirm the leak.
- Permanent Repair: Options include epoxy lining, PEX reroute, or localized pipe replacement.
- Validation: Re-test pressure and moisture levels to confirm the fix.
Most detections take under three hours, dramatically reducing restoration costs.
Prevention Tips to Keep Leaks From Forming
It’s always better to prevent a leak in the first place. Here’s how you can reduce your risks:
Schedule Yearly Plumbing Inspections
Technicians can spot corrosion, failing valves, and high water pressure long before leaks occur.
Install a Pressure-Reducing Valve
Keep household pressure below 80 psi to reduce stress on joints and seals.
Flush Your Water Heater
Annual flushing removes sediment that accelerates corrosion and valve failure.
Monitor Monthly Usage
Comparing water bills month over month highlights leaks before they become disasters.
Add Smart Leak Sensors
Wi-Fi detectors under sinks and near the water heater send phone alerts at the first drip.
Immediate Steps to Take When You Suspect a Hidden Leak
If you think water is escaping somewhere in your home, quick action limits damage before the pros arrive.
Shut Off the Main Valve
Know where your home’s main shut-off valve is located. Turning it clockwise immediately stops the flow of pressurized water and prevents further saturation.
Switch Off Electricity in Affected Areas
If you notice moisture near outlets or appliances, turn off the breaker to that circuit. Water and electricity never mix.
Document Everything
Take photos of stains, warped flooring, or water-meter readings. Detailed documentation strengthens insurance claims and helps the technician zero in on possible leak paths.
Cost Factors That Influence Leak Detection and Repair
While every project is unique, several variables drive the total cost of stopping hidden leaks:
Accessibility
Lines buried beneath a slab or behind tile take longer to expose than pipes in an unfinished basement.
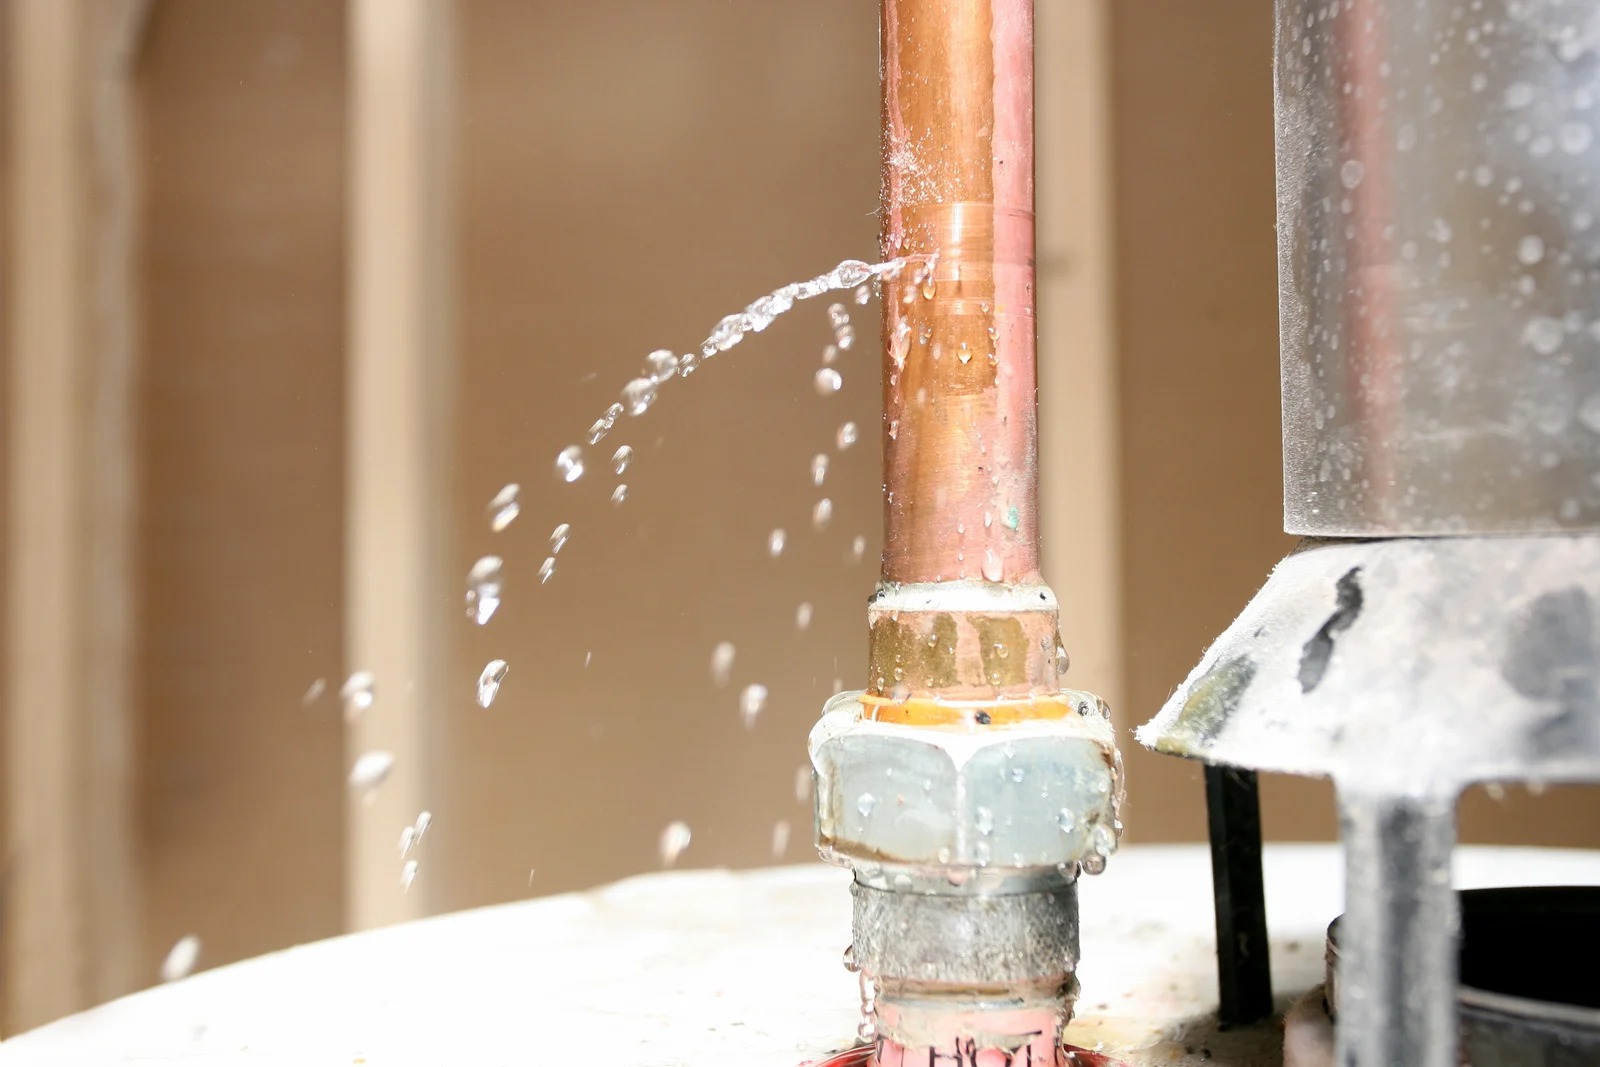
Pipe Material and Age
Copper pinholes, galvanized corrosion, and PEX fittings each require different repair techniques.
Secondary Damage
Costs increase if water has already warped flooring, promoted mold, or compromised structural framing.
Response Time
Detecting and repairing a leak quickly minimizes collateral damage, keeping expenses noticeably lower than “wait and see” approaches.
People Also Ask (Quick Answers)
How can I find a leak under a concrete slab?
Look for warm or damp flooring, check the water meter for continuous flow, and have a professional use acoustic and thermal tools to confirm before cutting into concrete.
Will a small leak dry up on its own?
No. Pressurized lines continue to erode, enlarging the opening and increasing water loss over time.
Can plumbers find leaks without damaging walls?
Absolutely. Acoustic microphones, infrared cameras, and moisture meters allow technicians to locate leaks with pinpoint accuracy before any drywall comes down.
Bottom Line
Hidden leaks quietly drain your wallet and damage your home. Professional leak detection services in Dallas-Fort Worth, TX locate problems, minimize repair costs, and keep your living space healthy.
Ready to protect your investment? Book your same-day leak detection appointment with a trusted, veteran-owned team and gain peace of mind today.